


Upcycle old fabrics into beautiful quilts with purpose and heart. Give new life to shirts, jeans, and baby clothes while creating something warm, sustainable, and filled with memory. This guide from HandMade Keeps shows how to turn everyday fabrics into lasting keepsakes with easy-to-follow steps.
Why Upcycle Old Fabrics into Quilts?
Old clothes hold stories. A baby’s onesie, a loved one’s shirt, or those jeans from a favorite trip—each piece carries emotional value. Upcycling them into quilts helps preserve those memories in a form you can hold, use, or gift. Across the USA, this style of quilting is gaining attention for its eco-friendly impact and sentimental power. According to the Modern Quilt Guild and craft circles like Missouri Star Quilt Co., memory quilting is both a creative outlet and a sustainable practice that supports a cleaner future.
What Fabrics Can Be Upcycled into Quilts?
You can use materials like cotton, flannel, denim, t-shirts, baby clothes, pillowcases, and curtains. These hold up well during stitching and washing. Avoid synthetic fabrics, lace, and stretchy blends, as they do not hold shape or may fray too easily. Before you begin, wash and iron all fabrics. Inspect for holes or weak areas to prevent tearing during sewing.
Essential Tools for Upcycling Old Fabrics into Quilts
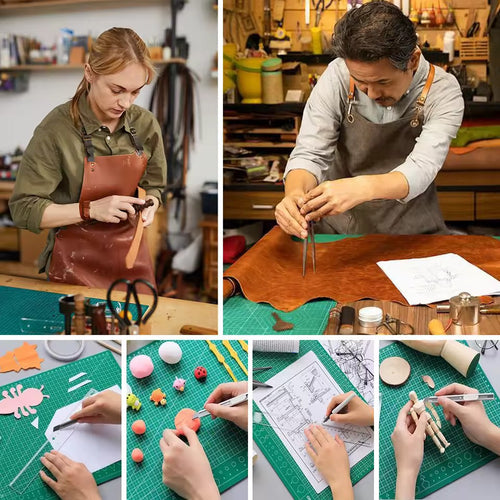
To start quilting, you need basic but reliable tools. A rotary cutter allows clean, straight cuts. Use a quilters cutting mat for accurate measurements. The quilt cutting template from HandMade Keeps helps shape your blocks quickly and consistently. We also offer a free gift offer with some purchases. You will also need a sewing machine, thread, batting, backing fabric, and pins—all available at most US craft stores or through our online shop.
Step 1: Choose a Quilt Design and Layout
Simple designs work best when using varied fabric types. Choose layouts like patchwork, log cabin, or rail fence patterns. Use graph paper or a digital design app to plan the look. Lay out your fabrics side by side and match tones to keep the design balanced. You can refer to The Ultimate Quilt Chart for guidance on sizing and block layouts.
Step 2: Prep and Cut Your Upcycled Fabrics
Wash and iron your fabric to soften fibers and prevent shrinkage later. Use your rotary cutter and cutting mat to slice consistent blocks (5"x5", 10"x10", etc.). Stack by color or type to stay organized throughout the project. The 5-in-1 Quilt Cutting Template at HandMade Keeps makes this step quick and precise.
Step 3: Piece Together the Quilt Top
Lay out your design on a clean surface or design wall. Begin sewing blocks row by row. Chain piecing—sewing one block after another—can save time. Press seams flat with a hot iron after each row. Keep blocks aligned so the quilt looks neat and clean when finished.
Step 4: Assemble the Quilt Sandwich
A quilt sandwich has three layers: the quilt top (right side up), the batting in the middle, and the backing fabric underneath. Make sure the backing and batting are slightly larger than the quilt top. Smooth each layer flat on a clean surface. Use safety pins or basting spray to hold everything in place. A wrinkle-free base makes stitching easier and prevents bunching.
Step 5: Quilt the Layers Together
Start quilting by stitching through all three layers. Beginners can try stitch-in-the-ditch—sewing directly along the seams. If you feel confident, free-motion quilting adds curves and patterns. Use a walking foot or quilting foot on your machine to keep the stitches even. Go slowly, keeping the quilt straight. Smooth the fabric often to avoid puckers.
Step 6: Bind the Edges of Your Quilt
To finish the quilt, cut binding strips—usually 2.5 inches wide. Join strips end-to-end and fold them in half lengthwise. Sew the binding to the quilt’s front, then fold it over the edge to the back. Stitch it down by hand or machine. You can also add a signature label or patch to the corner. This is a personal way to mark the quilt as a keepsake or gift. For extra guidance, refer to The Ultimate Quilt Chart from HandMade Keeps.
Creative Quilt Ideas Using Upcycled Fabric
Use old t-shirts from concerts, sports teams, or college days to make a t-shirt quilt. Baby clothes can become memory quilts for parents or grandparents. You can use fabric from a wedding dress or uniforms for heritage projects. Try seasonal themes like autumn, Christmas, or summer holidays. Add embroidery to include names, messages, or important dates.
Benefits of Upcycling Old Fabric into Quilts
Quilt making is a thoughtful way to reuse clothing instead of throwing it away. It helps reduce textile waste in landfills. You save money by using what you already have. It also makes a great handmade gift. Many people find quilting relaxing and rewarding. It lets you work with your hands while creating something useful and meaningful.
Promote Your Quilt-Making Service in the USA
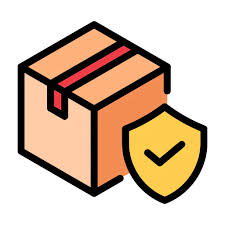
If you create custom quilts, highlight your use of upcycled fabric. Let customers send in their clothes, baby outfits, or old uniforms. Create memory quilts for them with care. Promote your service across the US and offer simple booking and shipping. At HandMade Keeps, we support your work with tools like our quilt cutting templates, fabric cutting kits, and free gift shipping protection to ensure everything arrives safely. Whether you are sewing for a client or for your own family, we are here to help.
FAQs
What old fabrics work best for quilting?
Durable fabrics like cotton, denim, and flannel are ideal. Avoid synthetics, which may stretch or fray.
Can I make a quilt with baby clothes or t-shirts?
Yes. Use stabilizers for stretchy shirts. Baby clothes quilts are one of the most meaningful memory projects.
Do I need a sewing machine to quilt?
No, but it helps. You can hand quilt, but it takes longer. Machines make stitching faster and more even.
How do I preserve and wash upcycled quilts?
Use cold water, mild detergent, and gentle cycles. Air drying is best. Store quilts folded in a cool, dry place.